Painting a car is a complicated process. A regular painting job has fewer complications than painting a car. But spray painting reduces the complexity a lot. We will guide you on using the paint sprayer to paint a car in this article as a beginner. For this, at first, you will need an excellent automotive spray paint gun. To buy one, check here a few suitable paint sprayers.
Although you have to spend a few bucks to buy one paint sprayer, it is cheaper than taking a painting service. As the auto paint jobs are expensive. This is normal because car painting needs preparation and much more caution. It requires a lot of time, a suitable environment, and equipment.
Usually, a car painting job takes some days to weeks. Need suitable environment and equipment. Painting job requires skills. You might have no prior experience with such painting. So, this step-by-step guide is for you.
Although it will not make you a pro painter, you can practice and achieve the best results following the steps.
How to Use A HVLP Paint Spray Gun?
As using a paint sprayer is a complex set of processes, this is your ultimate step-by-step guide to achieve the best paint job. You can elevate your spray painting to a new level if you know the process.
Let’s move on to spray paint your car by yourself:
a. Setting Up the Environment:
Before getting started with the HVLP paint sprayer, you have to create or choose a suitable environment.
For example, it will help if you place the car under a shed or garage. However, if you decide to do it outside, make the surroundings wet so that dust particles do not ruin the paint particles.
Ensure that there is enough room for decent movement. The whole process will be more challenging if you cannot move appropriately around the car.
b. Getting the Supplies:
You will require some tools to paint the car in the best possible way. Therefore, getting all the supplies before getting started with the process is a must. Tools make the whole process easier.
Collect this:
- Sander
- Electric Paint Sprayer
- Masking tape and Newspaper for Masking
- Wet and Dry Sandpaper
- Latex Paint and Paint Thinner
- Gloves
- Safety Glasses
- Face Mask
You will require one gallon of primer, three gallons of both topcoat and clear coat on an average amount. This amount varies on the vehicle size.
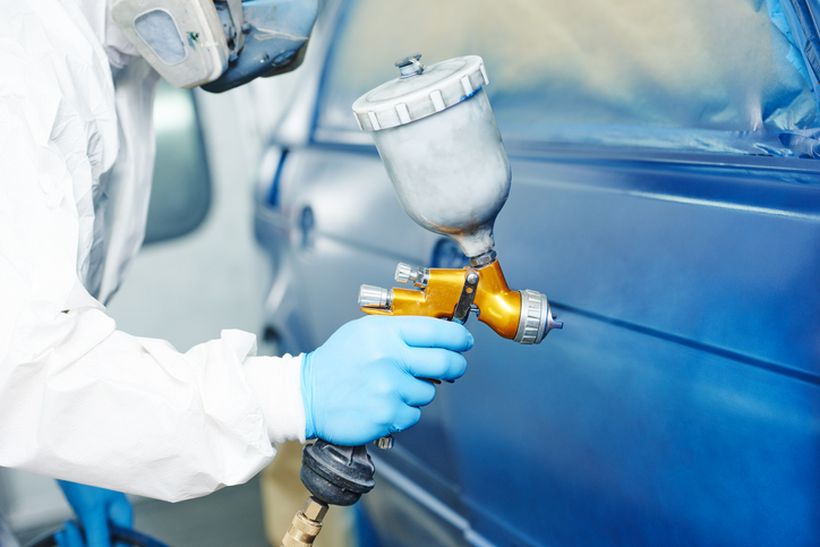
If you have all the supplies, let us get started with the main procedure. First, make yourself prepared by wearing safety goggles, a face mask, and gloves.
c. Making the Car Ready for Painting:

There are three coatings on the car’s exterior; clear coat, topcoat, and base coat. We have to start with the electric sander. Our goal is to remove all three coatings and reach the bare metal.
This process is the stripping method. The primer will easily stick to the metal surface if we get a good finish and reach the bare metal.
Once you get the desired finish, clean the surface with a cloth and thinners. Removing the unwanted residue is essential.
d. Priming:
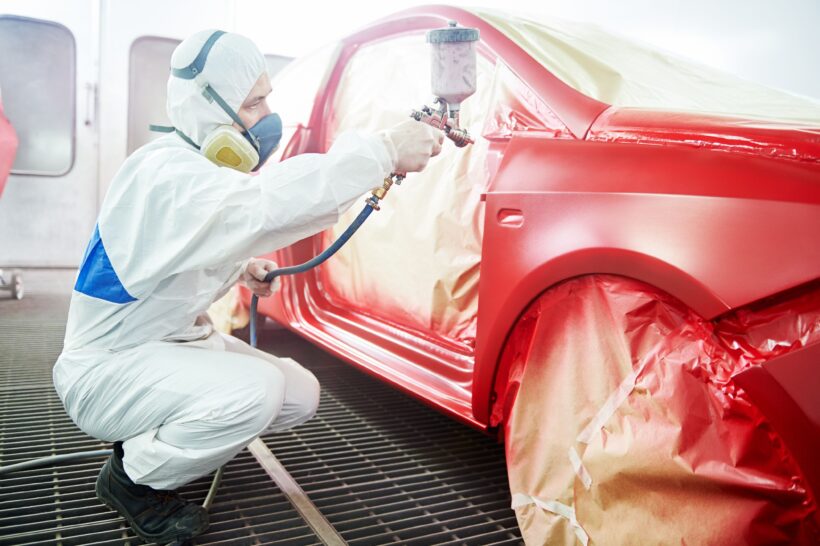
Let us move on. After cleaning the surface, make sure that the thinner has evaporated. Next, take paper and mask tapes. Then mask off the areas that don’t require painting.
Finally, mix the primer with thinners at the instructed ratio of the product.
Open the spray painter and clean the inside with some liquid or thinner. It is better to clear before using it.
Before paint spraying the paint directly on your car, you should practice for a moment. This rehearsal will train your muscle memory to adapt to the spray-painting process. Find an old metal or something that replicates your car’s surface and apply the paint to the side-to-side movement.
Note: Try to master the paint sprayer slowly, understand when to spray the acrylic paint and when to stop. Place the gun at least six inches away from the surface. Do not keep spraying on a single spot since overspray will make the layer thicker, and the paint will run down.
When you are ready, apply the primer to the car. Make the coat thin and even. Usually, two or three coats cover a surface.
The primer will end up as a powdery finish. Next, smooth the surface with wet and dry sandpapers. Now clean the paint sprayer for the following process.
Painting Process:
You have finally come to the last portion of the process. Now you need to fill up the spray gun with paints. Mix the paint and thinners at the given ratio from the paint instruction. This ratio matters, so be careful about this.
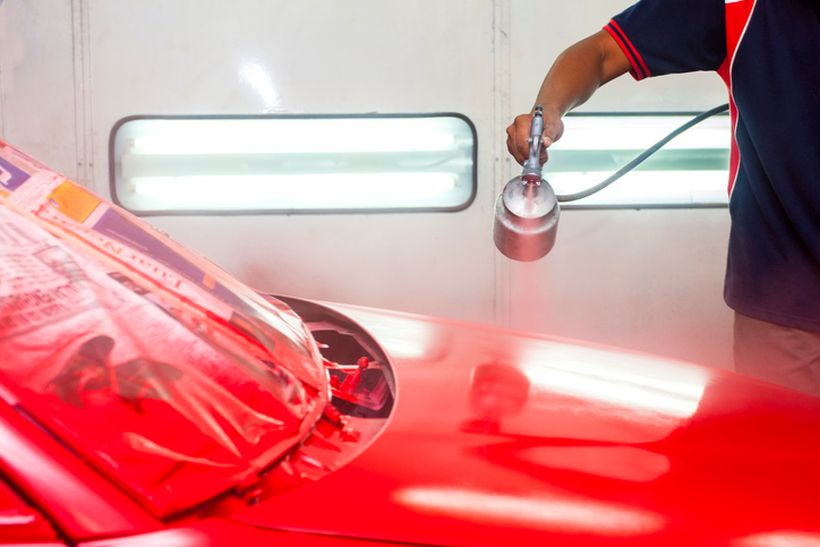
Apply the paint on the same side-to-side movement. Consider the paint drying time mentioned in the paint container.
Let the paint coating dry for that particular time. Use three to four layers. And be careful before applying the last spray. Look for any unusual residue and clean it with a rag.
After the last coating, remove the masking from the portion you wanted to avoid. Be careful here, do not let any masking get into the wet paint.
Now let the paint dry for the given time on the paint packaging. Once dried up, examine and look for any imperfections. If you find any, repeat the sandpapering process carefully to smooth only that portion. Now respray the paint there with your paint sprayer.
To sum up:
Painting a car is a professional job. It is better to seek expert professionals if the process gets you puzzled. But you can do it easily with a paint sprayer. You can achieve the best if you understand the procedures and practice appropriately.
Now you have your DIY technique for how to use a spray paint gun. But, of course, you should practice at least a few times before applying it in the first place.