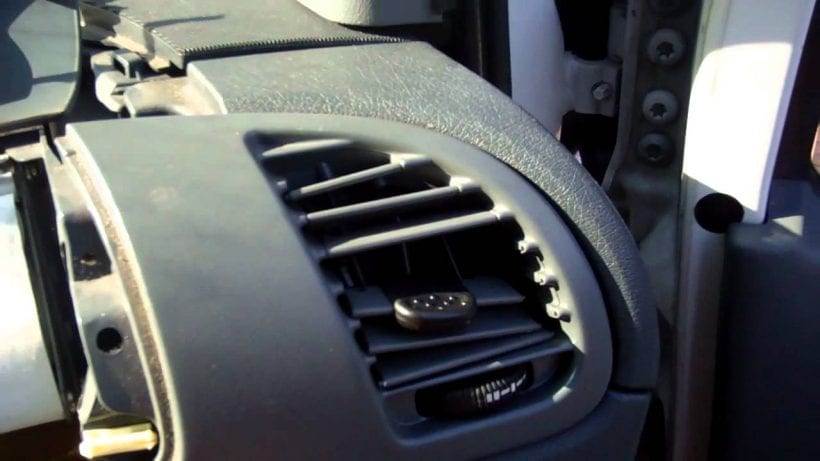
If you’ve ever had a broken air vent, then you know the annoyances of not being able to control your air flow direction. Things like this are frustrating but don’t worry because they are all too common, especially in older vehicles. Plastic is only meant to last so long, and after years of use, these parts are expected to break loose, or even just have normal wear and tear cause them to fall off. But this doesn’t have to stop there. You can easily and cheaply buy a car vent clip. In this article, we’ll give you some insight on replacing the air vent clips on your car.
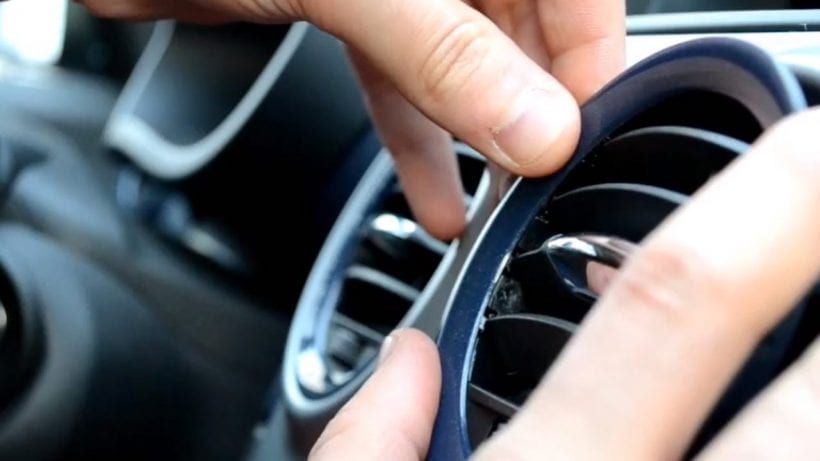
- First, you need to remove any of your broken horizontal tabs if necessary. This will also allow you to see the vertical posts a lot better, as well as make it easier for your replacement vent clip to be able to move more freely. A lot of times the horizontal pieces can end up falling behind the ones that are still attached, so make sure that it’s completely clear.
- Find the vertical posts and put the tab directly in the center with the legs on the bottom so that you can slide it into place and the legs will be on both the left and right side of the vertical posts. You want to then slide the replacement vent clip onto the horizontal louver.
- You should be able to see that the legs are in place on each side without the replacement clip being completely installed. Once you have, it positioned properly push the replacement tab onto the louver, so it snaps into place on the horizontal louver. If you hear a snap, then you know that it’s on properly.
What About Universal Tab installations?
When you’re installing a universal replacement vent clip, all you have to do is change the first step a little bit. Instead of just starting with lining up the parts, you have one extra step, and that’s sliding the tab itself to the clip so that they snap together. This engages the part in order to completely create a whole replacement vent clip. The bottoms are able to fit other handles on them as well, hence that’s why they’re considered universal. Once it is positioned properly, you may need to use an O-ring pick or some sort of hooked tool behind the back of the vent clip tab, and then you pull on the back of the tab itself to keep the parts together while you force the front of the tab back towards the vent. When it snaps on there, it will also lock onto the louver as well.
Conclusion
Installing a replacement vent clip on your car is actually a lot easier than it seems, as explained in the instructions. Not only that, but even car dealerships have been known to utilize these to fix vent clips on used vehicles when they’re detailing them because they still look like the old ones (or some look even better), and they’re easy to place and use for a low price.