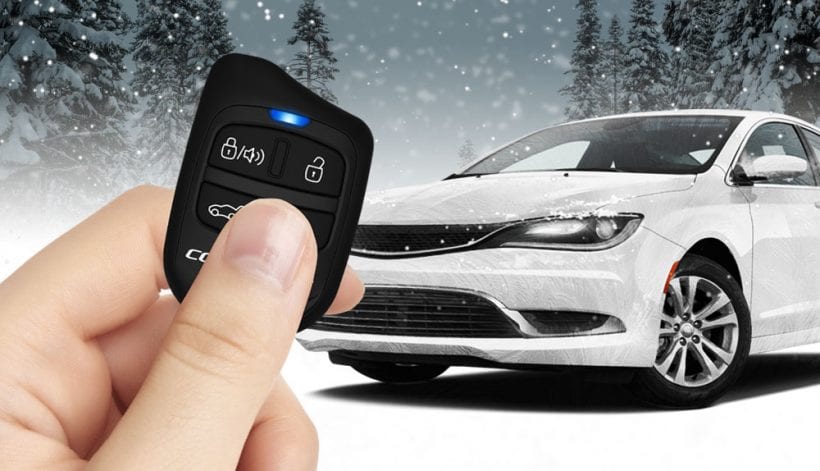
Have you decided to pull the trigger on upgrading your trusty vehicle with a remote start? You have made a great choice. They are rather inexpensive, and you can get ones that have some cool features. Thankfully, installing one does not have to be a nightmare – all it takes is a little time and patience. Ideally, they should be installed by a qualified technician since the vehicle control electronics are both complex and expensive, but if you are familiar with these kinds of repairs and DYI jobs, doing this yourself will save you money and time spent searching for an installer. No matter who will be doing the job, here are several steps that you or your installation experts will take to get your remote start ready to go.
Check for Compatibility
As stated by 12 Volt Solutions, the most necessary piece of information before starting an installation project of this kind is compatibility. Many remote starters are compatible with a wide range of vehicles, but it is essential to know whether the manufacturer, more specifically your car model, is one of them. You don’t want to tear into the vehicle only to realize that the starter you got won’t work and the job will have to wait until you get another one – which might take some time. Check this before you even order a starter in the first place. If you are going to DIY this, make sure to read the starter warranty. Some prohibit DIY installation, and you’ll risk voiding the warranty. That way, if something goes wrong, you won’t be able to take it with the maker of the remote starter unit.
Check the Unit
If your vehicle is equipped with an antitheft system, make sure that the remote start unit that you will buy includes all the necessary components to connect it with that system. There are some seemingly cheap remote start units that might require additional antitheft bypass modules that can end up being pretty expensive and waste time to get and connect them.
Download a Wiring Diagram
You can find a free wiring diagram for your particular vehicle at its manufacturer’s website. If you are able to read such a diagram, installing the starter will be reasonably easy – all you need to do is to follow it. Analyze it and closely stick to the instructions that are written in it.
Check Installation Instructions and Owner’s Manual
As previously mentioned, you will have to familiarize yourself with both the installation instruction booklet (which contains the wiring diagrams) and the car’s manual. Since you are going to be messing with wires and circuitry, it is crucial to understand where everything goes and connects under the hood. There are many wires there, such as the standard connections that include the starter, ignition, power and accessory controls for heat and air conditioning, security system and alarm, radio and power locks. Keep both of these booklets close during the installation process.

Gather the Tools and Equipment
The installation guide will provide you with a list of all the tools necessary for the installation. Gather everything well in advance of the required installation, so you won’t find yourself frustrated mid-job when you have to go back to the store for a specific tool, but you can’t drive yourself there because you have just practically disassembled your car. In general, you will probably need a Phillips head screwdriver, utility knife, wire cutters, wire strippers, soldering iron and solder, safety glasses and electrical tape. Many systems already come with an LED circuit tester so that you can find the necessary installation wires more easily.
Starting Installation of the Main Module
Before you do anything else, be sure to disconnect the vehicle’s battery. You will be working with wires, and they absolutely should not be connected to it during the installation process.
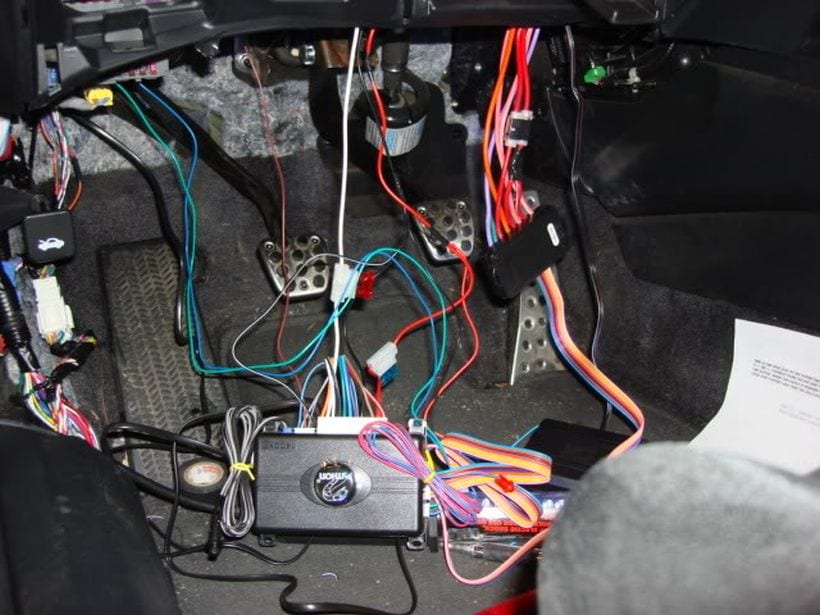
Once you are ready to install it, you must first determine where to place the starter module. On most vehicles, the ideal location is just under the steering wheel. If this is your chosen location as well, remove the kick panel and expose the wires.
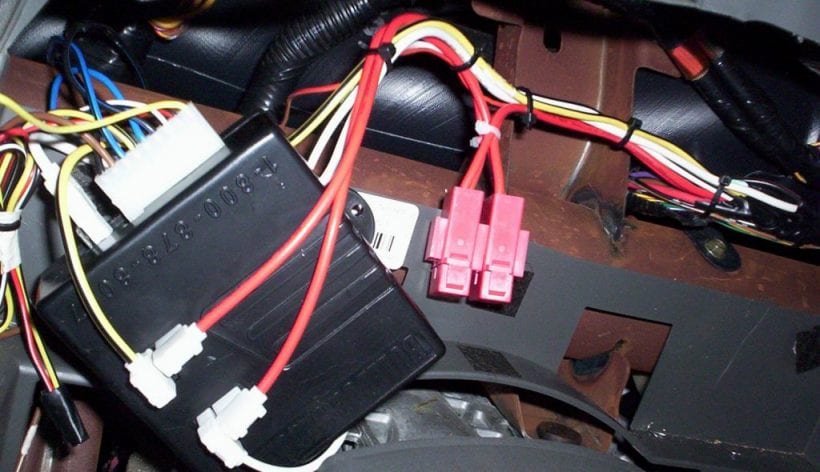
Wire the Remote Starter System
Following the installation instructions, you will first need to connect the starter’s wiring to the vehicle’s wires. To do this, strip away a half to one inch of the coating around the wiring. Do this to each wire as specified by the instructions. Once the starter wires have been stripped, you will have to connect them to your vehicle’s wiring by wrapping the wires together. To ensure they are attached, you can solder them together with a soldering iron. This is the wisest option. It goes without mention that if you will need safety glasses for the soldering. When finished, wrap the connection with electrical tape which will insulate the wires.
This part of the process will take the most time since you will be connecting all wires to the starter, including the parking and brake light wires, the starter wire, ignition wire, and accessory wire. Take your time and be patient for the best outcome. You need all of these car functions and options for optimal drive and safety, so be extremely careful not to leave anything unlinked.
Finish and Test
Once all wires are connected and taped, bundle them together with wraps to protect them and keep them neat and organized. At this point, you are ready to test the system. Reconnect the battery and check to make sure each part of the vehicle works properly. Check the brake lights, headlights, the AC, the starter, and finally – the remote start system. Once you see everything is working, replace the kick panel, and you are good to go!
Nothing To It
Upgrading your vehicle doesn’t have to be a nightmare. If you are confident in your manual skills and car repairing knowledge, just follow the advice provided here and the instructions in the installation guide, and your car will be set, and up and running in no time. Are you ready to get a remote starter installed in your vehicle?