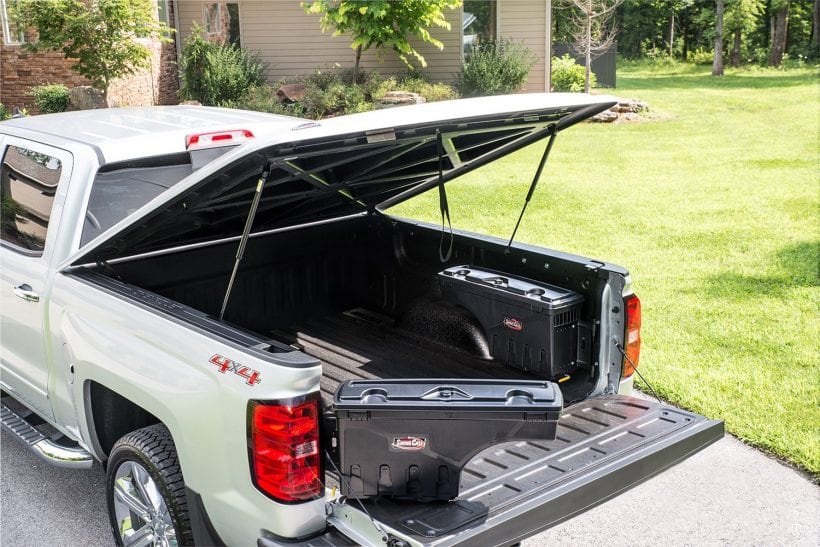
It is no secret that the truck tool box provides unparalleled convenience while in a remote location. It safeguards the tools and equipment which we might need while detached from the rest of the population. That is why it makes some sense to install it to be a permanent part of your car.
To find out how to do this, you might want to pay some keen attention to the guide below. We shall showcase how to install truck tool box on a car that has a bed liner. Our method negates the need to bore holes on your truck, which retains its appearance in the long run.
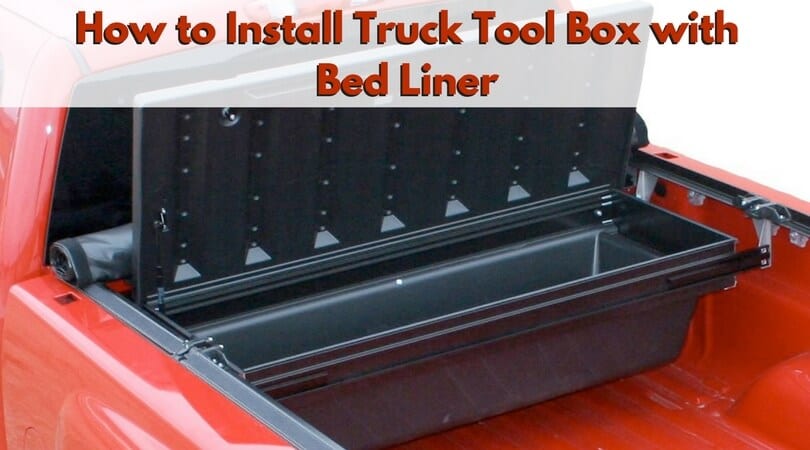
HOW TO INSTALL TRUCK TOOL BOX WITH BED LINER
Tools and Materials Required
- Pliers
- Screwdrivers
- Spanner
- Padding material
- Overall
- Bolts
- Screws
- Nuts
- Measuring tape
- Working gloves
- Truck tool box
Step-by-step Procedures
Step I: Make the appropriate preparations
Before you carry out the actual task of installing the best truck toolbox, you have to make the appropriate preparations. This basically entails gathering all the tools and materials required for the job. These are listed above for your consideration.
At the same time, you should put on the necessary protective gears such as aprons, gloves and nose mask. These are to shield you from the debris which will definitely be generated in the course of the installation. It is also necessary to cordon off your work area to safeguard the bystanders.
Step II: Locate the precise installation spot
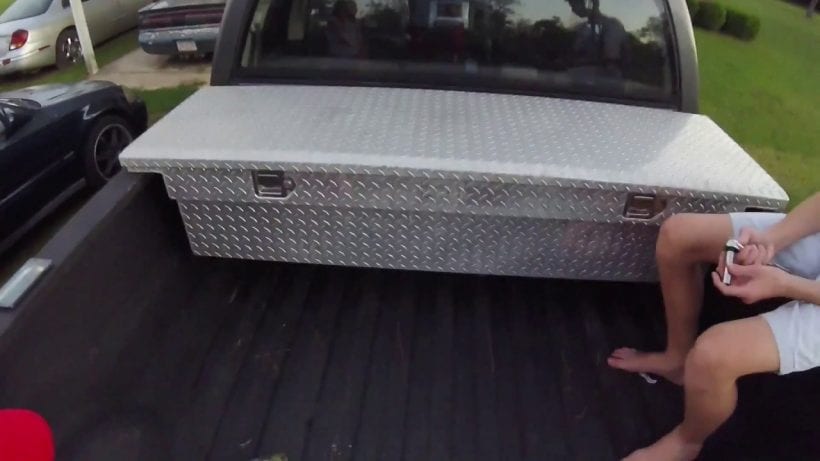
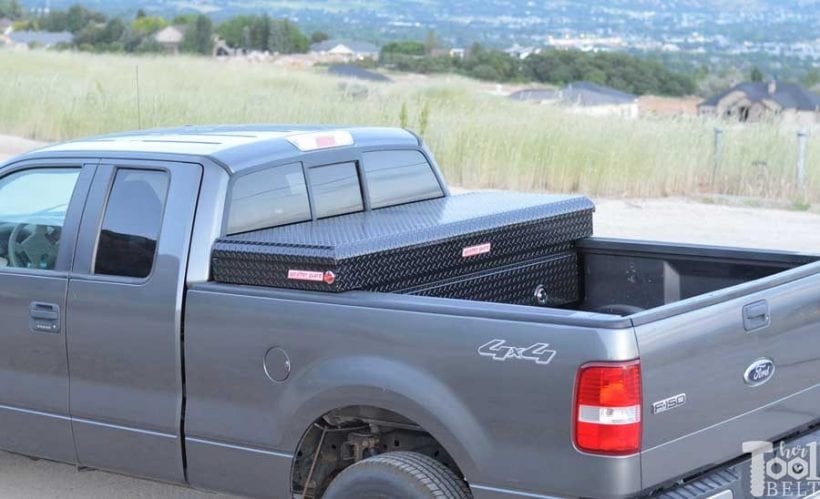
Skim the cargo section of your truck to find the best location to install the toolbox. For you to do this well, you have to measure the dimensions of your toolbox. Proceed after that to ascertain the availability of these very dimensions at the back of your toolbox.
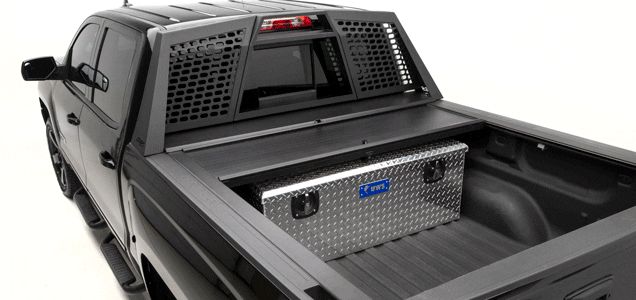
It is also necessary to select a location that is comfortable for your use. Be sure that the location you settle on can allow for free opening and closing of the toolbox. By far the most recommended location should be at the front of the cargo section right behind the driver’s chamber.
Step III: Assemble the toolbox

You have two options for this role. You can either make your own toolbox from scratch or purchase a ready-made one. If you opt for the former, simply construct a toolbox which possesses the very dimensions you will have settled on earlier.
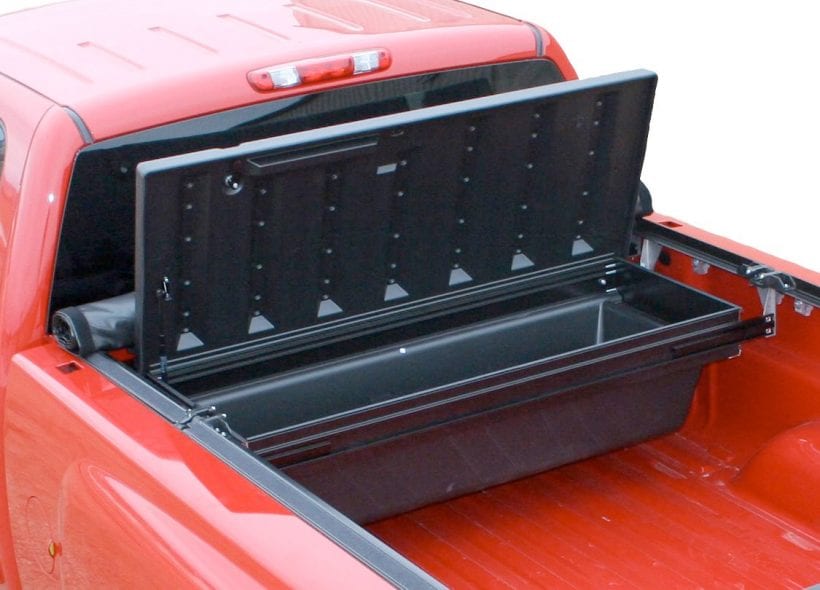
While at it, pay some keen attention to the manner in which the cover opens and closes as well as the processes of the locks. Remember to install some padding inside the box once you are through. Do not forget the compatibility of the box with the rest of the cargo section as well.
Step IV: Fit the Foam Padding
Padding plays two main roles. They protect your cargo from the vibrations, shocks, and impacts that arise while the car is in motion and also preserve the paints. It is for these reasons that you have to fit the padding between the spaces that exist in between the sides and the bottom of the cargo section.
You will have to place these padding before placing the toolbox. Simply take the appropriate measurements using a tape measure and then cut out enough padding for the job. Thereafter, place the padding on the bed rail of the truck.
Alternatively, if your truck possesses a bed liner, you may opt to jump this step. The liners provide added protection to your truck and shield it from any interferences from the box with the paint job. This also goes a long way to minimize the wear and tear.
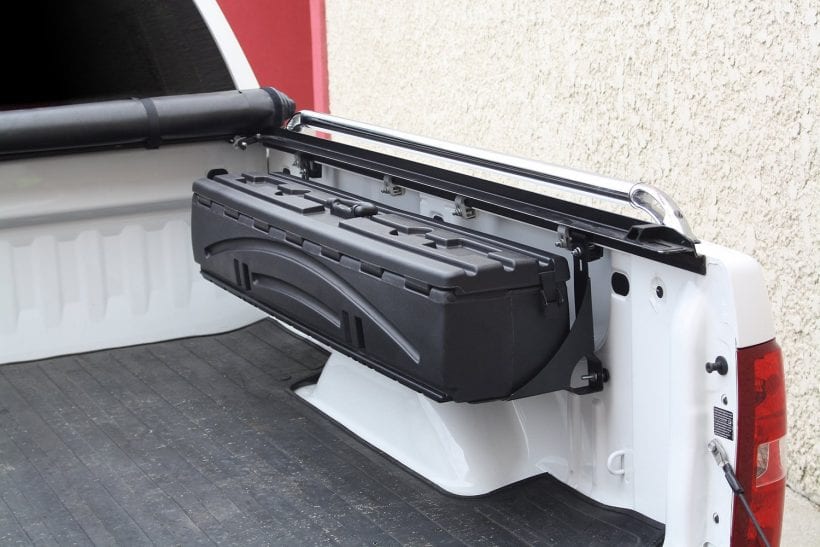
Step V: Align the Tool Box
You now have to align the toolbox with the pre-existing holes on the truck’s cargo section. Simply skim the bottom surface of the cargo bay of your truck. You will notice some holes which are often plugged using some rubber plugs.
Simply remove the plugs and thereafter align your box perfectly and in the right position. To enable you to align the box easily, open the cover.
Step VI: Bolt the holes or plugs
After aligning the box perfectly with the plugs, you now have to fasten the joint. This requires fitting the J-hooks and other kinds of bolts you might have. Be sure that the bolt you settle on is as compatible with your joint as possible.
A typical installation exercise will require around 4-6 bolts to successfully fix in place. Once you have identified the right bolt, slot it into the holes. Fasten the joint by screwing the bolts tightly. Since this is the most significant step in the entire exercise, it is necessary that you pay extra attention to it.
Step VII: Tighten the Tool Box
At this stage, you will have to tighten the toolbox firmly in place onto the bed rails. You will have to utilize screwdrivers, spanners, and pliers to tighten those nuts and bolts. Doing so is necessary to provide your toolbox secure fits onto the bed rails of your trucks.
Refrain from applying too much force while tightening though. You might end up damaging the bed rails altogether. Using too little force, on the other hand, is not advisable either. You might leave out some gas in between the toolbox and the bed. Such gaps cause vibrations to arise while you are in transit.
Step VIII: Put some final touches
You are now good to go! Before you call it a day though, you should put some final touches on your job. Examine your installation to see to it that everything is right in place. Open and close the box severally to ascertain that it is easy to do both.
You might also want to shake the box lightly to determine the tightness of the installation. Needless to say, you have to redo any part which in your opinion might require some remedial actions.
CONCLUSION
As you might have already noted, you really need no prior expertise or experience to install truck tool box with bed liner. All you have to do is gather all the tools and materials necessary and then follow the procedures stipulated above faithfully. You now have the confidence to tackle your next installation hassle-free!
You definitely want further guidance on how to undertake numerous other car-related tasks. Simply pay a visit to Autosneed. This is a leading online resource for practical tips, product reviews, and guidance for everything about your car.